All In-Office Workflow

What you do
- Step 1
- Step 2
Plan Your Implants
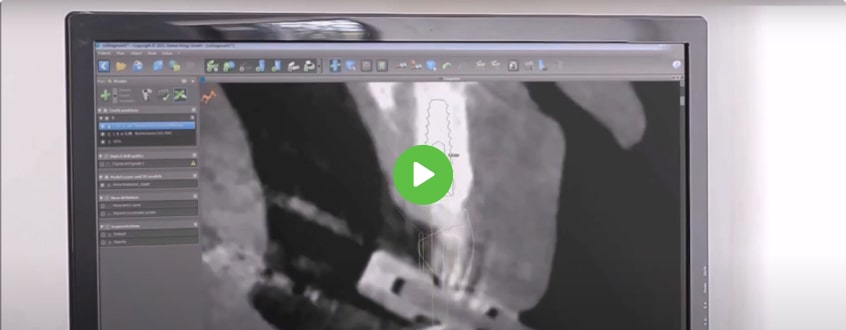
Plan your own implants in the software of your choice then upload the file to our secure online portal (3DDX Connect) for Surgical Guide design and export. If you don’t own software yet, learn more about ours here.
3D Print at Your Office
Once we design your Surgical Guide (and optional restorations) we will send you back an open STL file to 3D print. If you don’t own a 3D printer you can learn about our uCreate 3D printer here.
what we do
- Step 1
- Step 2
- Step 3
- Step 4
Radiology Report (Optional)
Radiology reports are a great way to inspect your scan data for a more predictable surgery and to rule out any potential concerns or pathology.
Learn more about our board-certified radiology reports here.
Surgical Guide Design & Production
Once we receive your implant plan, we will design your Surgical Guide for in-office 3D printing and send you the STL file to print. You can also design your own guide and send it to us for review and export. If you don’t own a 3D printer, learn more about our Learn about 3D Printers.
Restoration Design & Production (Optional)
Custom-made CAD/CAM abutments and restorations allow you to send your patients home with beautiful temporary restorations that closely resemble their finals. Learn more about our custom restorations here.
3DDX Support & Training
Along every step of the way, our dedicated customer support team is available to answer all your inquiries from 8:00 AM to 8:00 PM EST. We will also provide 3D printing training and troubleshooting for a seamless in-office printing experience.

 Support
 FINE-TUNE
 ORDER SERVICES
 PRODUCT SHOP
 1-866-834-7925